Setting Up Java, Python, Node, React, and Angular on a Chromebook
Published: August 4, 2020
By Anthony
6 min read
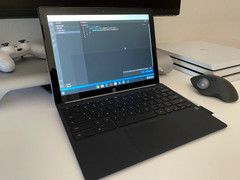
My 2013 Apple Macbook Pro's battery started to get worse in 2020 so I started looking for a replacement laptop. I ended up picking up an HP x2 Chromebook as my replacement device since I wanted to try out a ChromeOS device. I don't necessarily think this is the best "programming laptop" due to the lack of RAM. If you end up using a Chromebook as your primary programming laptop make sure you have at least 8GB of RAM and something faster than a M3 like the i5 Pixelbook Go. I also found it difficult to set up my programming environment due to the lack of tutorials so I decided to make my own after trying a bunch of different things.
This guide will cover how to set up your programming environment on a Crostini supported Chromebook device. You can find a list of supported Chromebook devices here, but according to that doc, "the Chromebooks launched before 2019 that support Linux (Beta) are listed below. Unless otherwise specified, all devices launched in 2019 will support Linux (Beta)". So newer devices will support Crostini out of the box.
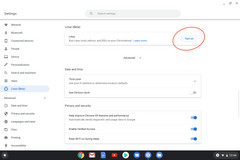
By default Linux is turned off, so go into the Settings app and enable the setting.
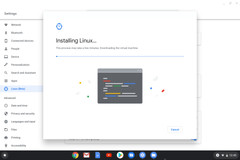
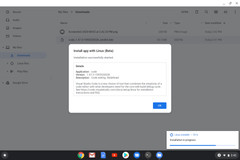
Follow the steps in the dialog box. The installation can take up to 10 minutes or longer depending on the specs of the device.
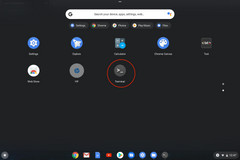
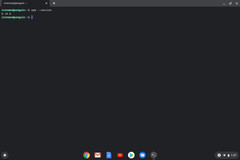
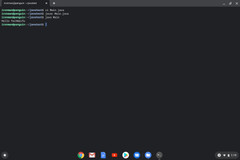
Once the installation is complete, you'll see a terminal app in the app tray.

With Crostini enabled, you can also install some compatible Linux apps. I'll be installing VSCode on my Chromebook. Make sure you download the .deb installer instead of the .rpm.
Once the file is downloaded, go to your Downloads folder and double click on the .deb file.
Most frontend developers rely on NPM as their primary package manager. By default, the terminal does not have this installed, so we'll need to set it up ourselves. Run the following commands inside the terminal to install NPM.
sudo apt-get update

sudo apt-get install curl gnupg -y

curl -sl https://deb.nodesource.com/setup_10.x | sudo -E bash -
sudo apt-get install -y nodejs
Verify that NPM has been installed correctly by running npm --version.
I personally prefer to use Yarn over NPM. You can install this by running sudo npm install -g yarn.
If you already have a React project, you can skip this step. If not you can easily create a React project using Create React App. Follow the steps below to start and run the brand new project.
npx create-react-app my-react-app

cd my-react-app

# If you installed Yarn use this
yarn start

# If you didnt install Yarn use this
npm start
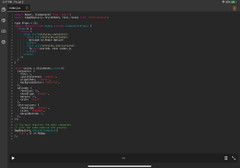
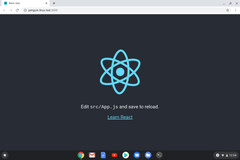
Visit the url printed in the terminal. Usually it's http://localhost:3000. You should see the following UI if everything is setup properly.
If you prefer using Angular you can just as easily run a couple of commands to setup Angular.
sudo npm install -g @angular/cli

ng new my-angular-app

cd my-angular-app

ng serve --open
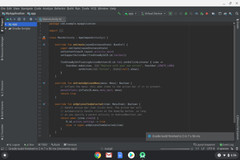
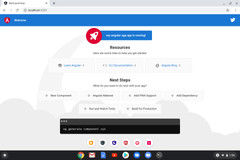
Visit http://localhost:4200 (or the url printed in the terminal) to verify it's working properly. You should see something like the picture below.
You can install the JDK to run Java programs on your chromebook. The JDK also contains the JRE, so you should be able to run all Java programs on your Chromebook. Run the following command below to install the JDK.
sudo apt-get install default-jdk
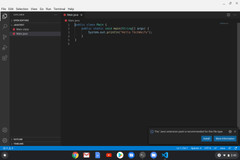
Let's create a brand a simple Hello World app in Java to verify it works. You can either use vim or your favorite IDE to create a Main.java file. Copy the following code into Main.java.
public class Main {
    public static void main(String[] args) {
        System.out.println("Hello TechWaifu");
    }
}
Afterwards, run the following commands to compile and run the Java app. You should see "Hello TechWaifu" printed in the terminal,
javac Main.java

java Main.java
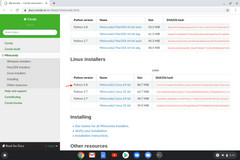
The chromebook comes with Python 2.x installed by default, but you'll need to install Python 3.X yourself. Let's download Miniconda since it's much more barebones than something like Anaconda.
Find the Linux installers section and download the "Miniconda3 Linux 64-bit" file. For this tutorial, I'll be installing Python 3.8.
After downloading the file, move Miniconda3-latest-Linux-x86_64.sh from the Downloads folder to Linux Files.
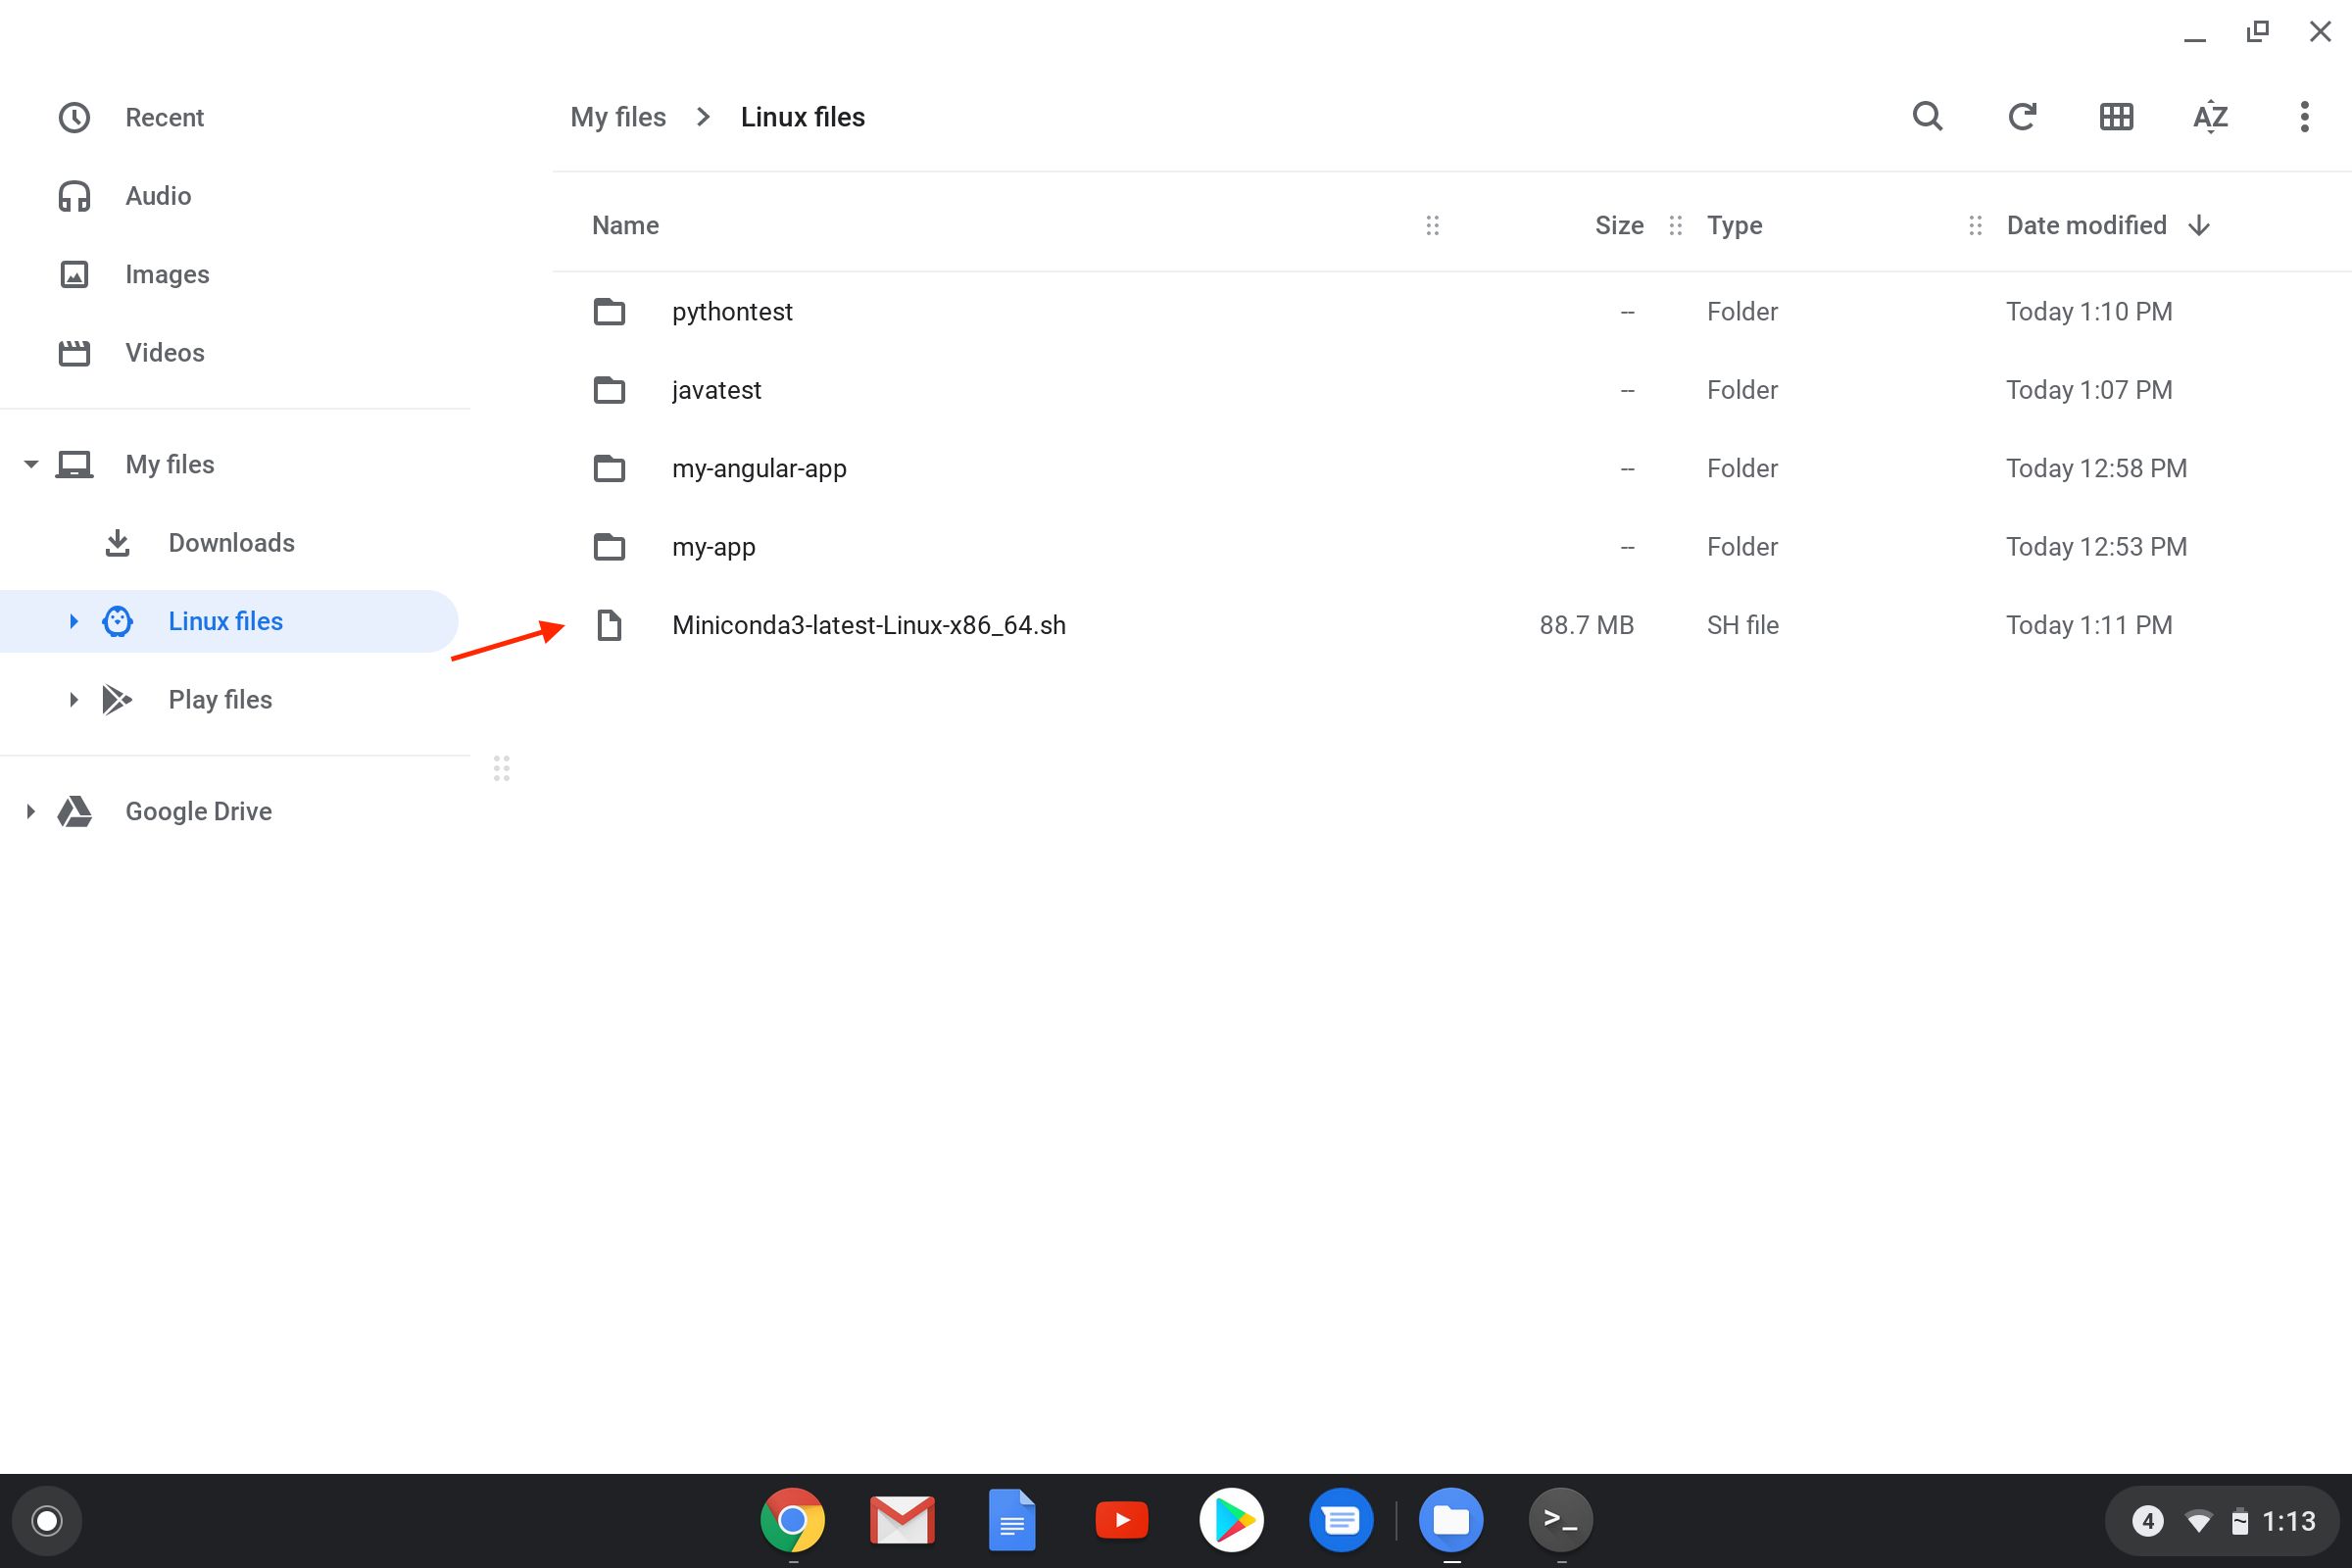
Now open up your terminal again and type ls to verify the file is there.
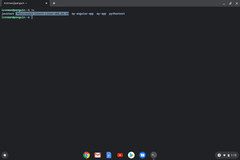
Once you've confirmed the file is there, run the following command to install Python 3.8. You'll need to read through some licensing terms.
sudo bash Miniconda3-latest-Linux-x86_64.sh
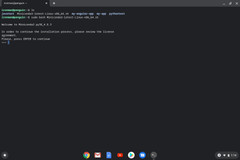
Accept the licensing agreements by typing yes into the terminal.
After accepting the licensing terms, type in /opt/miniconda3 to set install Miniconda3 to that location. You'll need to restart your terminal once all of this is complete. You can simply close the app and open another terminal instance.
In the new terminal instance, grant the proper permissions for the directory so that conda can manage the packages properly. Run the following command, but replace ironman with your username. You'll find the username before the @penguin.
sudo chown -R ironman /opt/miniconda3
Let's start up Conda by running source /opt/miniconda3/bin/activate. You can also add this into your ./bashrc file so you don't need to type up the whole thing everytime.
echo 'alias python_3="source /opt/miniconda3/bin/activate"' >> ~/.bashrc

source ~/.bashrc

python_3

python
Run print("Hello TechWaifu") to verify everything works.
Chromebooks have become much more useful developer tools with the release of Crostini and support of Linux Apps. You can even do Android programming with Android Studio on your Chromebook! I haven't tried this myself since 4GB of RAM is barely enough to even run VSCode. Do you use a Chromebook as your primary coding laptop? Which one do you use? Let me know in the comments section below and also check out How to Code on an iPad.
All products recommended are selected by our team. If you buy something through one of the links on this page, you'll be supporting our team to keep doing what they love.