How to host a website for free
Published: July 3, 2020
By Anthony
3 min read

I recently started my own blog site. It was super simple to make and cost me almost nothing. I’ll be teaching you guys step by step how you can set up your own website as well.
You’ll need a basic level of programming in order to do this, but don’t worry, I’ll guide you through it. First create an account on Github if you don’t have one already.
After setting up your account, follow the steps listed in Github Pages.
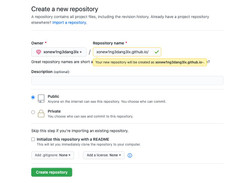
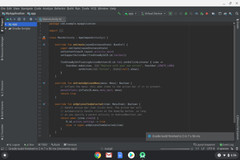
This will help you pushing your code to the repository.
Click the "Set up in Desktop" button. When the GitHub desktop app opens, save the project.
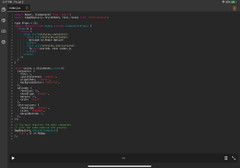
Here’s a sample index.html file you can copy.
<!doctype html>

<html lang="en">
<head>
  <meta charset="utf-8">
  <title>Mai’s site</title>
  <meta name="description" content="Your first website">
  <meta name="author" content="Mai">
</head>

<body>
    <h1>Hello World</h1>
</body>
</html>
Enter the repository, commit your changes, and press the publish button.
It will take a couple of seconds before your site is live. You can find it at https://username.github.io. For example, you can find mine at xonew1ng3dang3lx.github.io.
This step is totally optional if you’re okay with using the URL provided by Github Pages. However, that URL is not exactly the most memorable URL, but thankfully you can purchase your own domain name to change it. I purchased mine for $1 at Go Daddy.
This is honestly the hardest part. Some domains can range from $1 to thousands depending on the popularity.
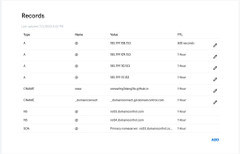
Next we'll need to point your newly acquired domain name to your site hosted on Github Pages.
It will look something like this afterwards.
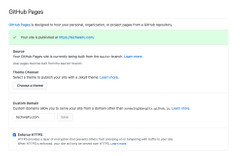
If you don't enable HTTPS, Chrome may consider your site as insecure. In order to make it secure, head over to your repository's settings and toggle on "Enforce HTTPS".
You can either check in your images directly to your Github repository or you can host them somewhere else. I’m using Imgur since they won’t delete any uploaded images if they’re uploaded from an account. Check out this link to customize the size of the images as well.